Kitchen floors in older Seattle houses tend to sit higher than the rooms around them. A 1950s rambler in Lake City or a Craftsman in Ballard may have tile on cement board on top of an older vinyl floor, or a thick mortar bed from an earlier remodel. Then the new plank in the dining room, typically 6 to 8 millimeters thick, comes in at a different height altogether.
The piece at that doorway is small, and it is where people stub a toe, where vacuums catch and where a floating floor gets pinned if it is done wrong. Our page on stairs, transitions and trim shows how installers handle it. Here is how to do it yourself.
Check these first
What is under the tile. At a floor register, transition or broken tile, look for old sheet vinyl, vinyl tile or black adhesive. In a house from before about 1980, that material can contain asbestos, so do not cut, sand or scrape it. King County is in the Puget Sound Clean Air Agency's area, and old floor removal and subfloor prep explains what comes next.
Whether the tile should stay. Loose or cracked edge tiles need fixing first, because a transition will not hold them. If you would rather have one floor throughout, read our guide on installing vinyl plank over existing floors.
What the plank's instructions ask for. Many makers want a transition at doorways and where the plank meets another floor. Kraus asks for at least 5 mm of expansion space, and Hallmark asks for 1/4 inch at the edges of a floor up to 50 feet across. Yours may differ.
Condo rules. Hard-floor and sound rules may affect what goes down next to the tile. See our guide to Seattle condo hard-floor rules.
Floor heat. If the kitchen has electric floor heating, find out where the mat stops before you drive a screw anywhere near the tile.
Step by step: measure the height difference
Do this after the subfloor work on the plank side is finished, because any overlay or patch changes the number.
- Set a scrap of plank on the subfloor at the tile edge, with its underlayment if your product uses a separate one.
- Lay a straightedge on the tile so it reaches over the plank, then measure the gap between the straightedge and the plank.
- Measure at both door jambs and the middle. Old floors slope, and the number can change across a 3-foot doorway. Use the largest one.
- Swing the door. Close it and check that it clears the planned piece, and decide where the piece lands. It usually looks best centered under the closed door, or lined up with the wall in an open archway.
- Check appliances. If the plank runs on past the transition to a dishwasher or refrigerator, make sure the new height lets them slide out.
Choose the piece
| Tile compared with plank | What to use | Notes |
|---|---|---|
| Even, or within about 1/8 inch | T-molding | Covers the gap and the expansion space |
| Up to about 1/2 inch higher | Reducer or beveled strip | High side at the tile, slope down to the plank |
| More than 1/2 inch higher | Raise the plank side, or a custom ramp | Plywood underlayment in the room, or a shop-made hardwood piece |
| Plank higher than the tile | Standard plank reducer | High side on the plank, slope down to the tile |
| Tile not yet set | Metal profile set in the thin-set | Decide before the tile goes in |
The ADA's changes-in-level rule is a good test even though it does not bind most private homes: up to 1/4 inch can be vertical, 1/4 to 1/2 inch should be beveled no steeper than 1:2, and over 1/2 inch calls for a ramp. A step that follows it is less likely to trip a person or stop a walker.
A plank line's own reducer may not fit when the tile is the high side, because many are built to step down from the plank. Check its profile against your measurement. A hardwood reducer or a surface-mounted beveled strip that sits on the tile may suit better. If your number is over 1/2 inch, price a plywood overlay on the plank side before you buy a tall ramp. It takes the height out of the whole doorway, though it also raises the door clearance question.
Buy moldings from the same product line where you can. Hallmark even tells installers to set aside planks that best blend with the moldings, so the pieces next to them match.
Step by step: setting it
- Mark a line on the subfloor where the piece will sit, centered under the door if there is one.
- Cut the track and molding to the doorway's width with a fine-tooth blade. Dry-fit them between the jambs. If the plank will slide under the casings, cut those first.
- Fasten the track to the subfloor. Use screws into a wood subfloor, or the adhesive the maker specifies on a slab. It goes down before the plank does. Nothing should go through the plank, because a floating floor has to move.
- Lay the plank up to the track, leaving the expansion space your instructions call for. Cut the last row carefully. The molding hides the gap, and a tight fit here is what pins the floor.
- Dry-fit the molding. Press the plank on each side and check that it can still shift a little. If the molding bites down on it, trim or reposition it before gluing anything.
- Set the molding with the snap track or the adhesive specified. Use a flexible adhesive on tile, and keep it off the plank. Put weight on it overnight if the instructions say to.
- Finish the tile edge. If there is a small gap between the piece and the tile, use a color-matched flexible caulk rather than grout, which cracks at a moving joint. Keep it away from the plank unless your instructions allow it.
- Test it. Swing the door, walk it in socks and roll a chair across it. A molding that rocks needs another look at the track or a shim underneath.
Any plank you lay in a wet kitchen doorway will see drips and mop water, so wipe the joint dry after you mop and look at it again after a week of use.
What it costs
These are typical Seattle-area ranges for planning. They vary with the product and the doorway, and your written quote is the real number.
| Item | Typical range | Notes |
|---|---|---|
| Matching T-molding or reducer | About $25 to $60 a piece | Often about 7 to 8 feet long |
| Surface-mounted metal or beveled strip | About $15 to $50 | Check the height it covers |
| Hardwood reducer, shop-made | About $60 to $150 | Good for an unusual height |
| Underlayment plywood | About $25 to $70 a sheet | Thickness sets the price |
| Transition installed by an installer | Typically $30 to $80 a piece | From our Seattle cost guide |
| Tile setter to rework an edge | Commonly $200 to $500 | More if tile has to be matched |
When to call a professional
Hand this one over when:
- Old vinyl or black adhesive shows at the tile edge and has not been tested.
- The difference is over 1/2 inch and you are not comfortable building up the subfloor or a custom piece.
- The tile edge is loose or cracked, or the tile sounds hollow near the doorway. A tile setter should fix that first.
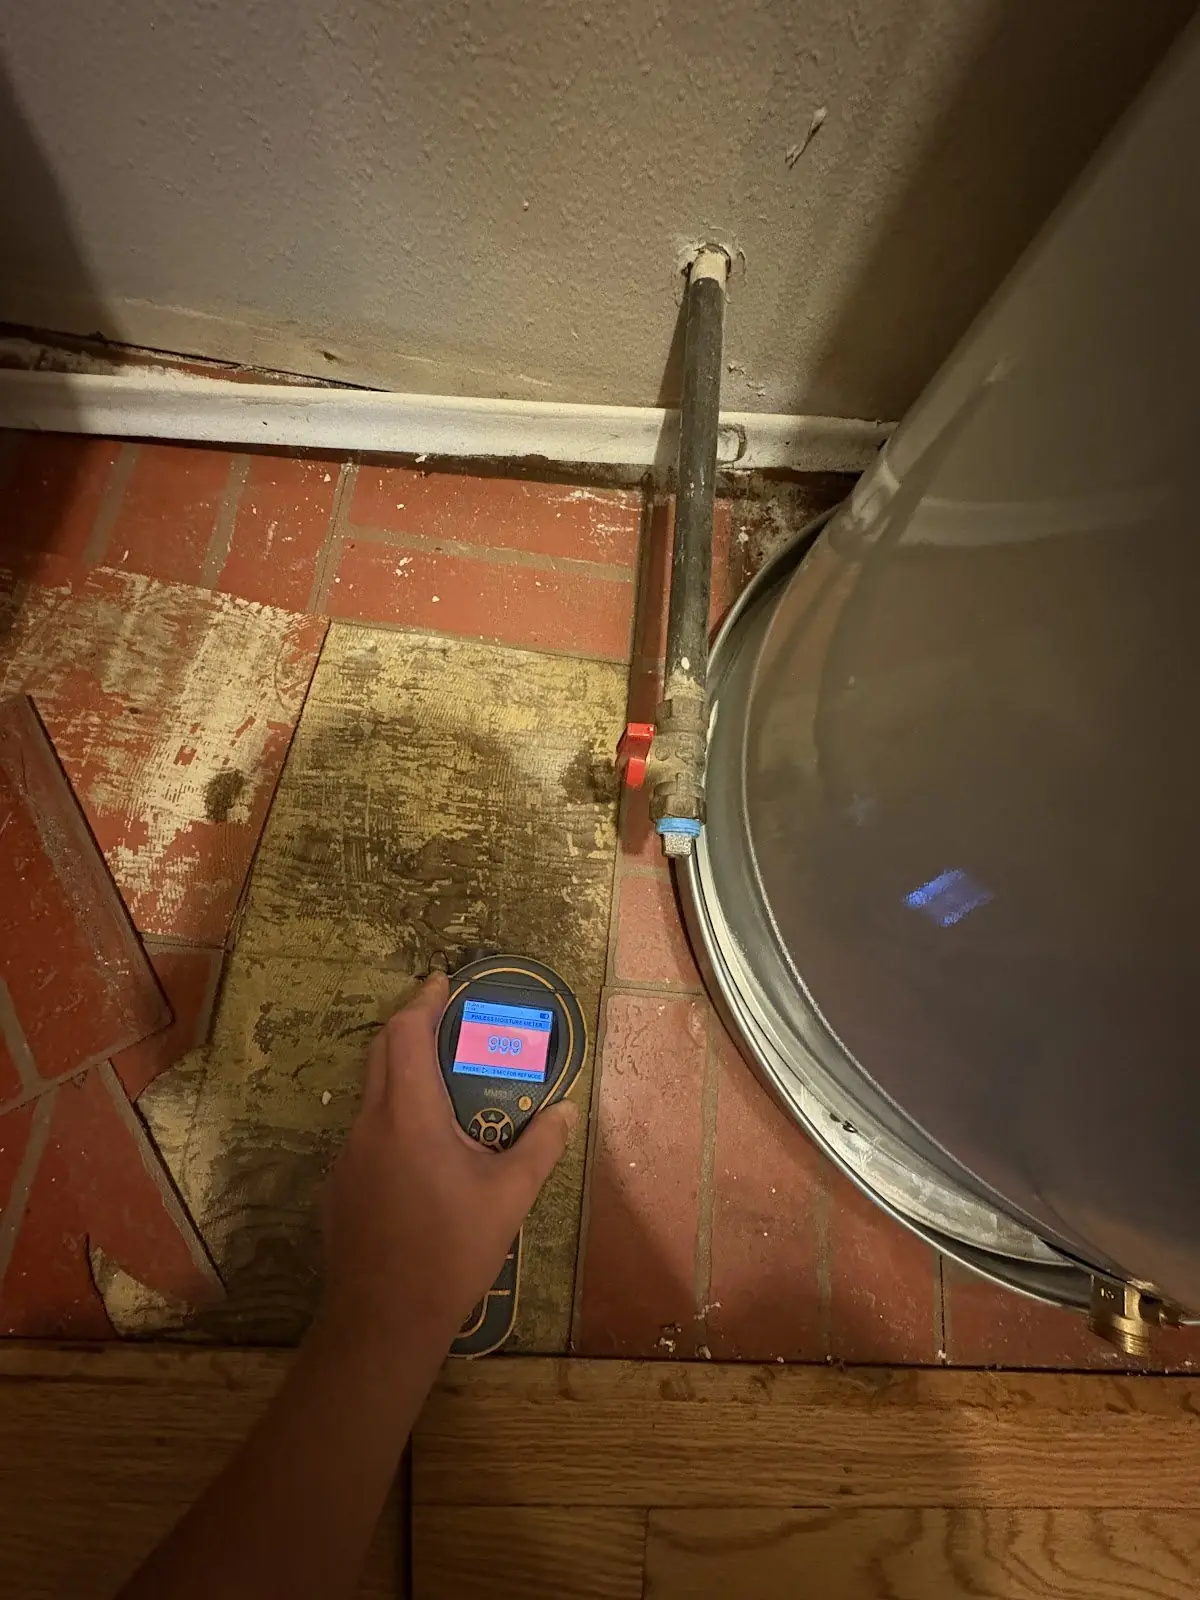
- The floor feels soft near the sink, dishwasher or doorway, which can mean an old leak. Find the cause before anything goes down.
- There is floor heat, plumbing or wiring under the line where the track will go.
- You are doing a whole floor and several doorways have different heights. Luxury vinyl plank installation shows what an installer takes care of.
An installer measures every doorway at the in-home measure and lists each transition on the written quote. Call (425) 279-7097 to book one; coverage by neighborhood is on the Seattle areas page.